The imaging case editor documents a patient's imaging test case
Test Cases can be generated from Imaging Requests, detail the specimens and materials used, and further simplify the test values entry by providing the fields specific to the requests
Using of the Case Editor
1. Use the left sidebar to enter administrative information (Date, Medic, Medic)
2. Use the right panel to enter medical details of the request
3. Print or Export the content of request by pressing the Print and Custom Print buttons
4. Click Save and Close to save the entered request
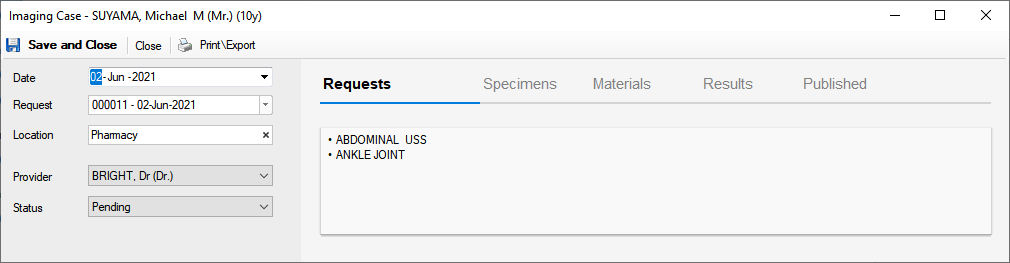
Left sidebar fields
1. Date - the date when the request is registered
2. Provider\Medic - the provider\medic doing the consultation
3. Location - the actual location
4. No - the case number
5. Status - can have one of the following values:
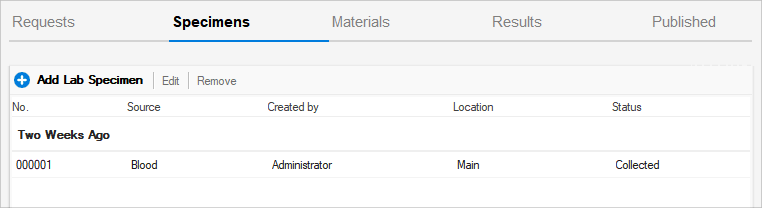
Entering test specimens ( optional )
Optionally the case can have attached the specimens:
1. Select the Specimens tab
2. Press Add Lab Specimen
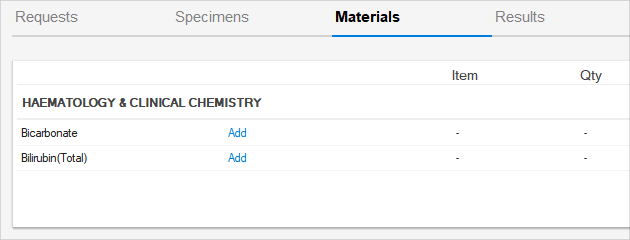
Entering used materials ( optional )
Materials used during the tests can be entered as Bills of Materials (BOMs):
1. Select the Materials tab
2. For each test request entry, press the Add link in the grid
Entering results values
The actual test results are entered in result fields, specific for each test request. One request can have one or more results fields to be completed
Additionally you can attach to the study Dicom Documents, Image or simple Documents
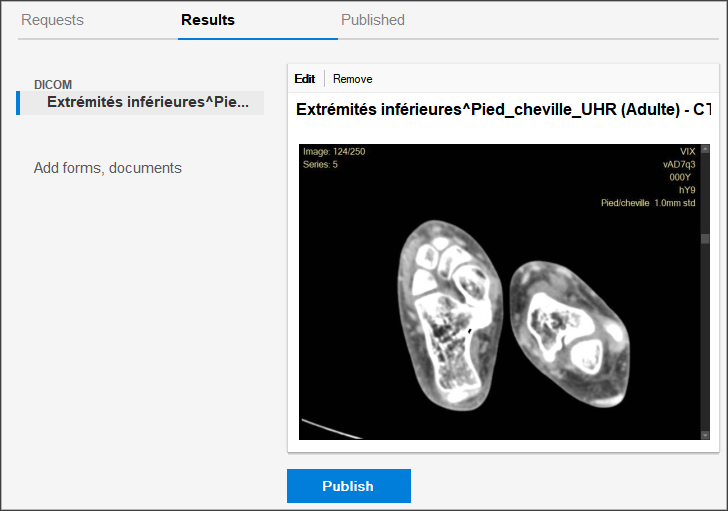
Once the results are entered, the case can be either: